for those who love the outdoors
23 January, 2023
Been waiting all year for that week away to the mountains with the crew? Hit the ground running with a perfectly waxed ski and beat your mates down the hill.

There comes a certain point where what you have on your feet will influence how much fun you have in the mountains, with boots being top influence, quickly followed by skis or snowboard. The last thing you want is your equipment holding you back. Be warned though, It will put an end to all those ‘blaming the equipment for lack of speed’ excuses…..
Wax, what does it do?
Wax is the key to sliding with ease; when your skis are zipping along, the bases are causing friction with the snow. Wax helps to decrease the drag from the friction allowing you to speed up with little effort; we’ve all been there when the terrain flattens out and it feels like someone has slammed the brakes on, only to be mocked by the local ski school who are now whizzing past.
There is a whole science and Mr Miagi art form behind ski wax, but the basics are enough to keep you gliding.
Snow is very abrasive, think of the sharp edges you see on a cartoon snowflake. Colder snow has sharper points and is more abrasive, which is where that grippy feeling comes from. Spring is a little different as the snow crystals are more rounded and contain a lot more water, which can give you that ‘skiing in porridge’ feeling.
To get the best results use soft, warm temperature wax (usually yellow) for spring conditions and harder cold wax (usually blue) for the depths of winter. Universal wax will work well enough for most conditions apart from super slushy spring snow.
Wax also acts as protection for your equipment, without it these rough snow flakes are scratching away at your base. Ever wondered why your black ski base is looking white? That's because the friction has been great enough to dry out and slightly damage the material. Regular waxing will help prevent this.
It’s always best to start with a blank slate. So drop your ski’s into your local shop and have them repair any holes, flatten the base, put a structure on and give your edges a tickle. This should last you a while depending on how much time you spend sliding across car parks on your ski’s.
Hot waxing is something that you can do at home with some pretty rudimentary tools. Stick some tunes on in the background, get some mates around for a wax party (not that kind) and it’s guaranteed to get you hyped for your next trip to the mountains.
It’s recommended to do this with the correct tools to get the best results, but if you’re on a budget then you’ll be surprised what the backyard waxer can do with some ingenuity.
Iron - any iron but one without holes on the bottom is best (this will ruin your iron, so don’t expect to be ironing your trousers anymore)
Wax - Temperature specific
Base cleaner - Get ski specific cleaner
Plastic scraper - Something around 5mm thick…..along the lines of a car licence plate
Hand brush - medium stiffness with short nylon bristles, something your grandad would buff his shoes with is ideal. But nothing that will damage the base. Don’t go digging out the dogs hairbrush.
Two chairs - to act as your stand
Just a quick note on what wax to buy. Wax over the years has been produced from a by-product of the oil refining process. Latest studies show that this kind of wax leaves behind chemicals in the snow, which in spring melt into riverways and lakes causing damage to the environment and in turn animals and potentially humans. Sustainable waxes have been around for a long time, but only recently have they reached the stage where they match their carbon-based rivals. Plant-based waxes that are free from petroleum are now being used in ski shops around the world and are available to everyone without sacrificing performance.
Step one
Wipe down the base. Use some kitchen paper or an old towel and wipe down any dirt and dust with base cleaner.
Step two
Switch your iron on. A temperature of around 120 degree C is ideal. If it’s too hot then the wax can burn.
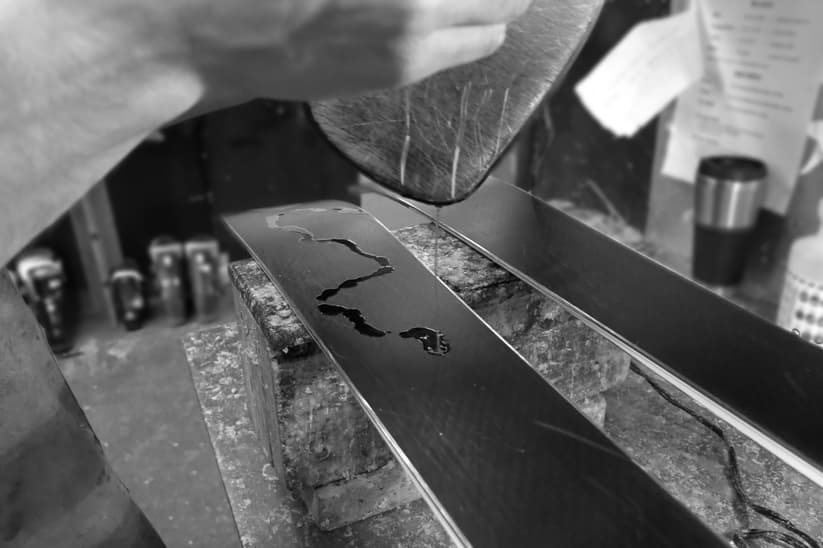
Step three
Hold the wax to your iron with a corner facing down and drip wax down your skis. The amount of wax will vary but don’t use too much as that will result in more waste. You can always wax again if you missed some spots.
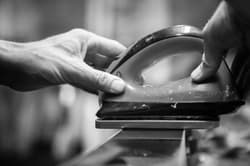
Step four
Once you’ve dripped on the wax it's time to ‘iron’ it in. Starting at the tip of the ski, put the hot iron onto your base and slowly move it up and down the ski. It’s easier to divide your ski into sections and work your way to the tail. DO NOT LEAVE THE IRON LONGER THAN A FEW SECONDS IN THE SAME PLACE. Keep the iron moving.
Step five
Once you can see that wax has covered the base, leave it to cool down completely. Usually takes 15 minutes.
Step six
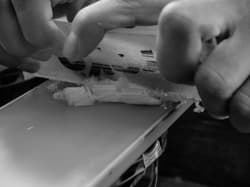
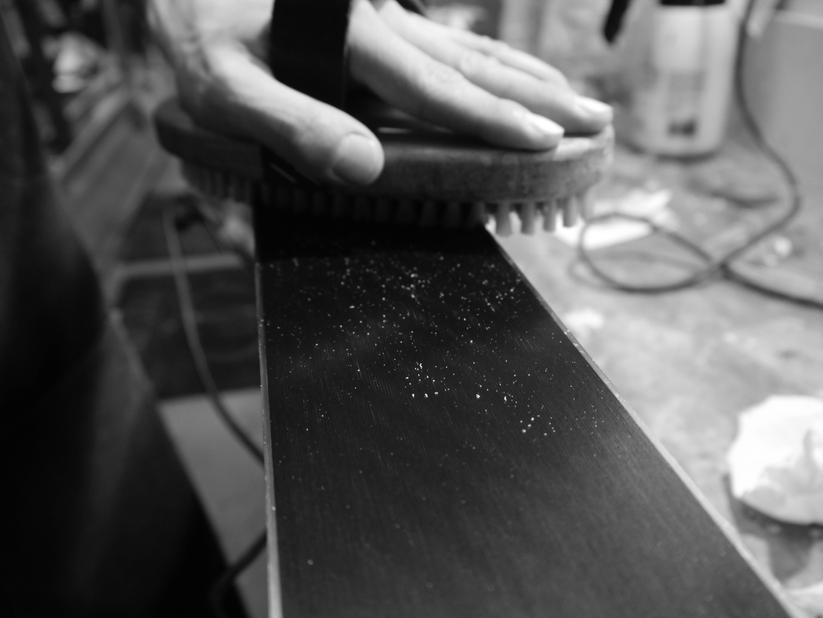
Time to scrape! Starting at the tip of the ski hold the scraper at a 30 degree angle, so that only one flat edge is touching the base, start to scrape the wax off. You don’t need to push down into the ski, but just along the base with the goal being to scrape all visible wax off. You’ll always meet those people who say “I don’t scrape, I just ski the wax off”. Don’t listen, Just smile at them while you whizz past.
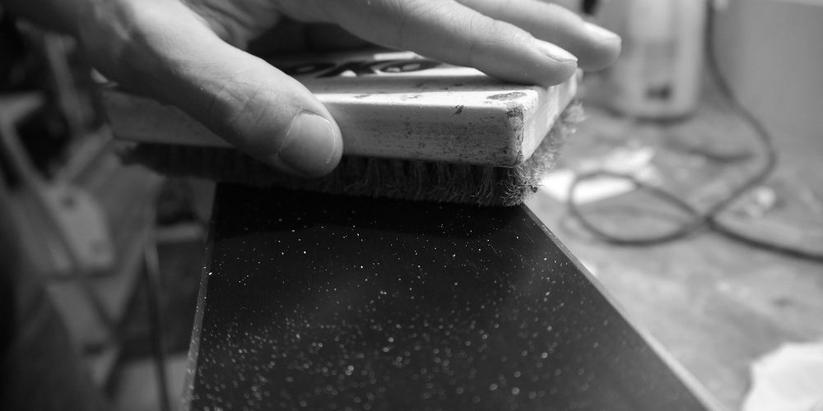
Step seven
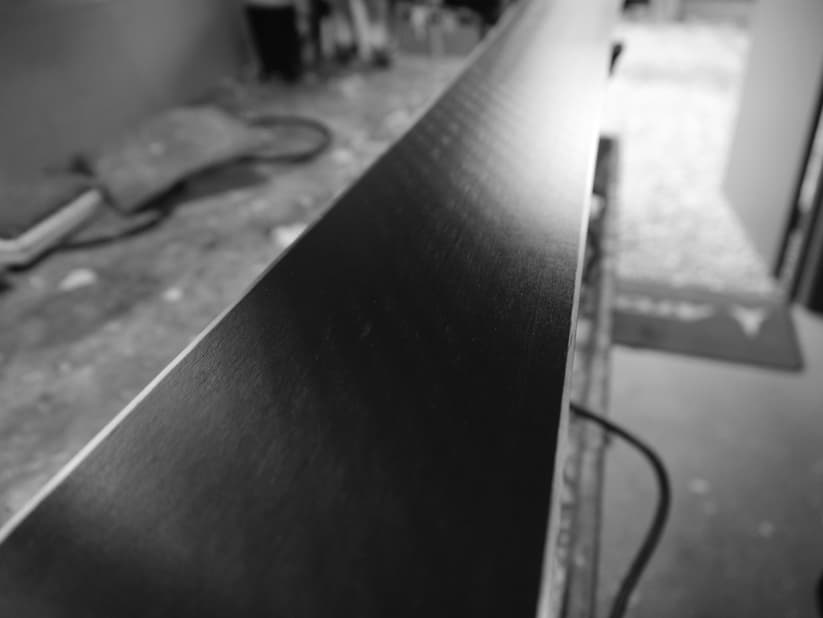
Once you think all the visible wax has been scraped off, you can now switch to the brush. With a firm amount of pressure you can brush off any wax you missed, you want your bases to shine. A properly waxed ski will look brand new.
If you really want to geek out, then put a small drop of water on the base and watch it glide down the ski. That's the hydrophobic properties of wax at work.
Top Tip
Whenever working on your skis, always start at the tip and work towards the tail. The bases are made up of tiny fibres and we want them all to be facing the same direction.

I'm a photographer, creative copywriter and brand ambassador with over 14 years experience in action sports and adventure, in particular in snow sports where I cut my teeth as a competitive athlete. These valuable years taught me lessons in communication, self promotion, hard work and dedication, all of which I now apply to my creative work. It's through these experiences I have leant that even the best plans can change, so being flexible and able to think on the fly in stressful situations are skills I pride myself on.
Most recent articles by Leon Butler
Most recent articles in WINTER