Contributor support page
Hello and welcome to the contributor support page for Outside & Active. This page should provide all the information you need to:
1) Create your profile
2) Submit your articles and
3) Grow your O&A portfolio.
This support page will follow the chronological process of becoming an Outside & Active contributor to submitting your first article. If there are any questions you have that are not covered in this article then please feel free to email me: [email protected]
1) Creating your profile
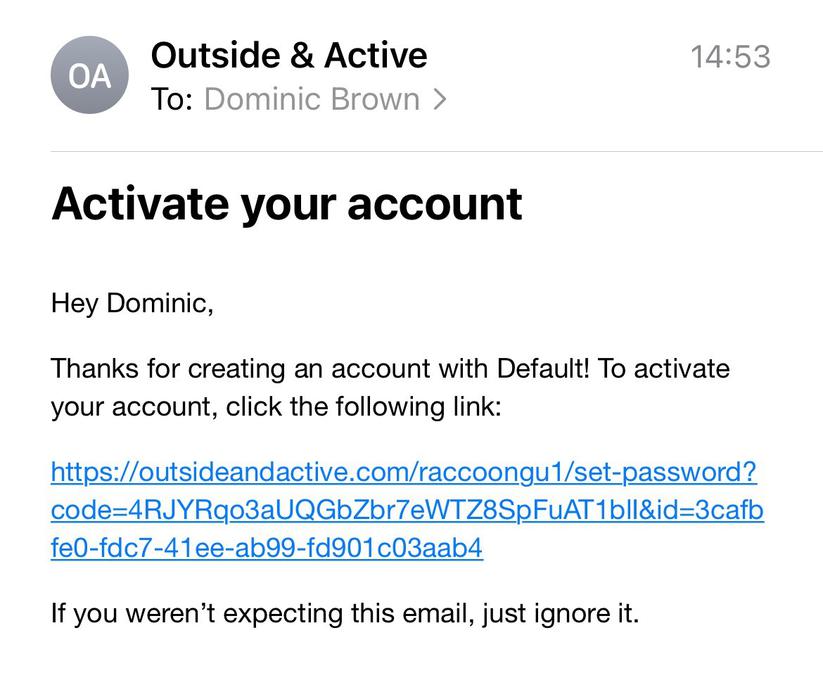
Congratulations! You have just joined our wonderful group of budding outdoor enthusiasts that educate, inform and inspire our readers. The first thing to do is set up your profile. You should have recieved an automatic email from Outside & Active asking you to activate your account. The email should look like the image below. Once clicking through you will then be asked to choose a password (make sure to make a note of this)!
Once this is complete you will be forwarded through to the entries page - which will be your main hub to submit articles and update your profile.
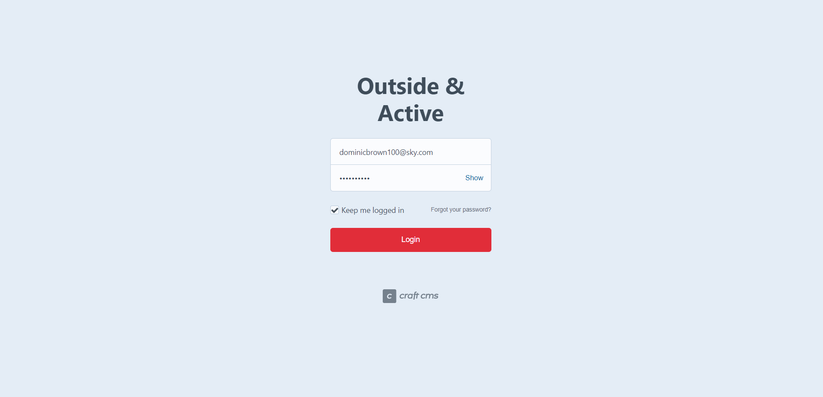
To access the login page you can follow this link - https://outsideandactive.com/r... or you can also save this to your computer. The login page is as shown in the image below.
2) Updating your profile
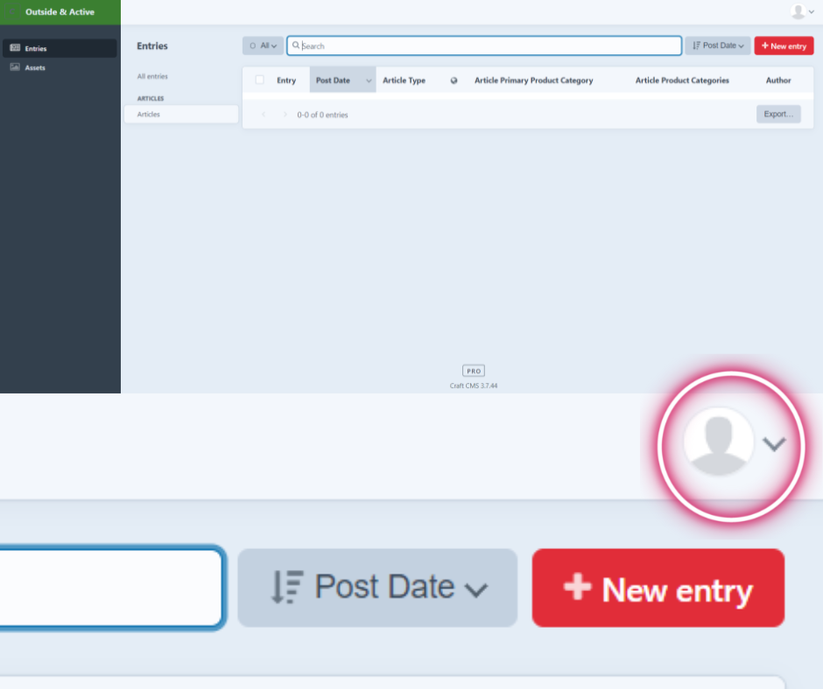
The image above shows the main screen you will be taken to once you have logged in. To update your profile, click on the profile image located at the top right hand side of the page.
On the account tab you upload a profile image, change your email and password, and update your name.
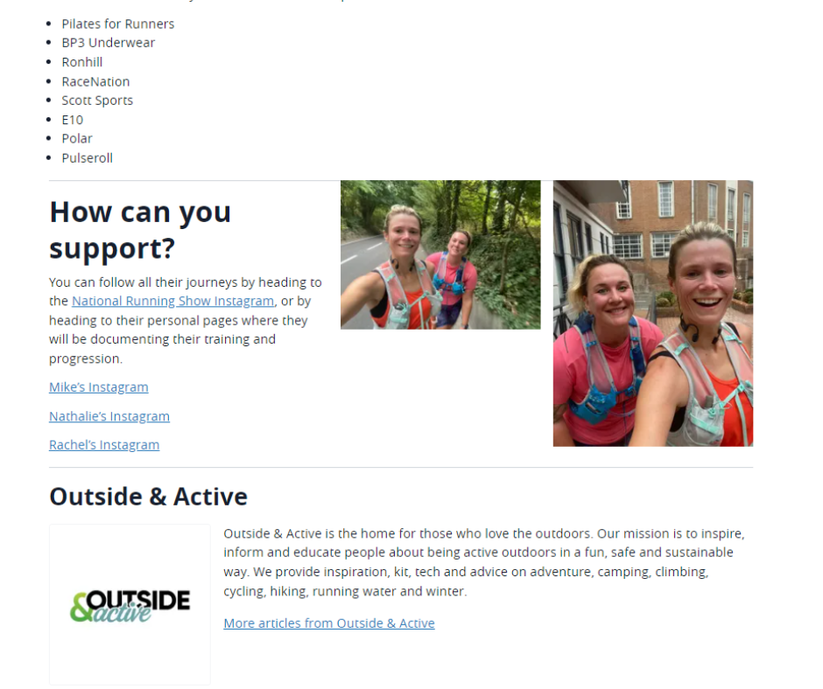
One the profile tab you can insert a short bio about yourself as well as add a company website and social media links - please be aware that this information, and your photo, will be displayed at the bottom of each article you submit, as well as on the contirbutor page.
On the final preferences tab you can update language, formatting and accessibility if need be.
To make all of these changes permenant you must click the red Save button located towards the top right of the page
The below is what will be shown at the bottom of each article you submit.
3) Submitting your first article
Now your profile is all set up, it's time to submit your first article, when you submit articles, they will then be forwarded on to me and I will be able to schedule them and edit them if need be. You will also be able to log back in to edit the articles if you need to, but only before they are published, once they are published you will not be able to edit them and will need to ask me to edit. You can complete the below steps in any order you would like but I reccomend going through in this order on your first time.
- Head to the red button located at the top right of the screen which is called + New Entry
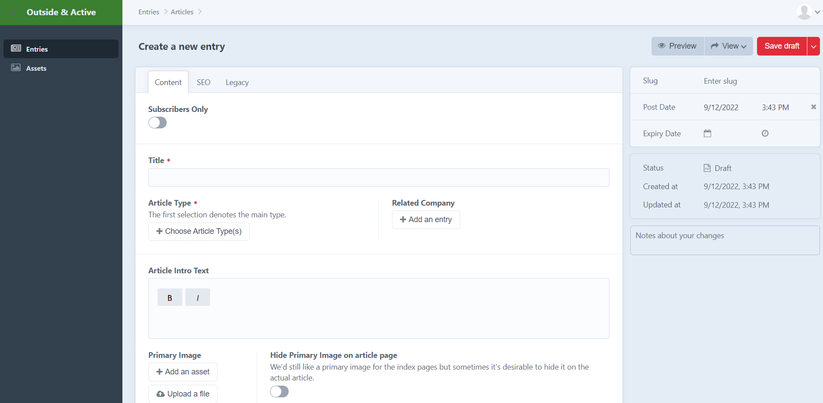
- You will be taken to the entry page (image above) where you will construct your article. You will only need to work on the Content tab, you can ignore the SEO and Legacy tabs as they will not effect your article. At first this page may look a tad confusing but after using it a couple of times it will become second nature.
- The first job is to enter your Title, this should be clear, concise, and make the reader want to click on your article. You can always come back to write your title at the end if you need some further inspiration.
- Click on Article Type and choose the type that suits your article most, if you are not sure then select latest news.
- If you are writing on behalf of another company, then you can select Related Company and add this information in. But most of the time this will not be required.
- Next up is the Article Intro Text. This is the text that will appear at the top of the article before the headline image. It will also be the text used in the thumbnail of the article on the front page of the site. Make sure to keep this concise and accurate, use it as a short synopsis of your article. If you need some examples take a look at other articles on the site.
- Just below this box will be an option to add your Primary Image. Similar to the article intro text, this is the image that will appear at the top of the article and on the thumbnail of the article on the home page. Therefore, it is important to make this image clear, attractive and relevant to your article. You are more than welcome to use stock images. The dimensions of this image will need to be 672 x 348 otherwise the image may be distorted of cut off. There are programmes online which can easily help you edit your photo into this dimension. This website may help: https://www.iloveimg.com/resiz...
- There are options to hide the primary image and add a video instead but I reccommend against doing this unless completely neccessary for the article.
- Now it's time to start putting together the main section of your article. Ideally we look at around 1,000 words for an article and include clear headlines and paragraphs to help make the article clear and easy to navigate - it also helps with SEO!
- The Page Body section allows you to construct your article in different ways by using different elements such as text, video, buttons and columns. Click each button to add a new element to the article, you can change the order of the elements by clicking and dragging the 4 dots at the top right hand side of each box. Each element will have a set of instructions in it to help you get the most out of it, but the element you will be using the most is Text.
- To create a paragraph headline, write it out, select your writing and then click the Format icon and select headline 1. You can then revert back to normal writing to type out the body of your article. I would suggest typing out the main text of your articles in word and then transfer over, as there is no spell of grammer check in the submission process.
- If you have images to suplement your article then I would suggest interspersing text with images to keep the article engaging.
- Play around with the different elements whilst contructing your article. If you ever want to see what your article will look like on the website, you can click the Preview button located at the top right of the screen. This is another way to edit your article and also will show you if there are any glaring issues in the formatting.
- You can also click the, View button located besides the one above, and then click Primary Entry Page, to see what it will look like on a full screen.
- Once you are happy with your article, it is time to add the Article Primary Product Category, which is located at the bottom of the submission page. Here you can select the category which most aligns to your article.
- There are options to add an Article File and Call to Action at the bottom of the page which you can utilise if need be.
- THE FINAL STEP is to head to the red button at the top right of the screen SAVE DRAFT. Once you click this it will be submitted to an editor for approval. Until it has been approved and scheduled by an editor, you are still able to edit your article.
As mentioned at the top of the instructions, you will gradually be able to use this page better and utilise different elements to make your content even more engaging. If you are struggling with anything at all then please feel free to email!
4) Rinse and repeat
You are now an expert! You are ready to begin building your portfolio of articles on Outside & Active. As mentioned above, at the footer of each article will be your profile which will link to more that you have written. On each article thumbnail the authors name will also be noted.
All thats left to do is to educate, inform and inpsire.